

Long awaited and slightly spoiled by my SmallCool Contest... the "after" photos of my tiny little SF kitchen! Let's first take a trip down memory lane. Remember what my kitchen looked like when I moved in? Here's the "before" post and a few photos below.


This is honestly my favorite space in the apartment. Not just because it's where I cook dinner (Cough. Excuse me. Where I warm up pizza from the Whole Foods Refrigerated Section.), but also because it was the first room here in SF that I got "done."
That's a funny word, because of course no room is ever "done." A space grows and changes with your needs and taste. But, this was the room that I focused on making me right away. Moving here was really hard. I mean, I'm so happy I did, don't get me wrong. But living 2000 miles away from my family and everything I know -- that was a challenge. I really needed to make something here in SF mine, and I wanted to do it as quickly as possible. I did it here in this tiny kitchen.
Que end of the sappy part of this post :D Anyway, you can see for yourself how the space evolved in the photos below. But I also wanted to point out a few of what I consider the "big impact" items:
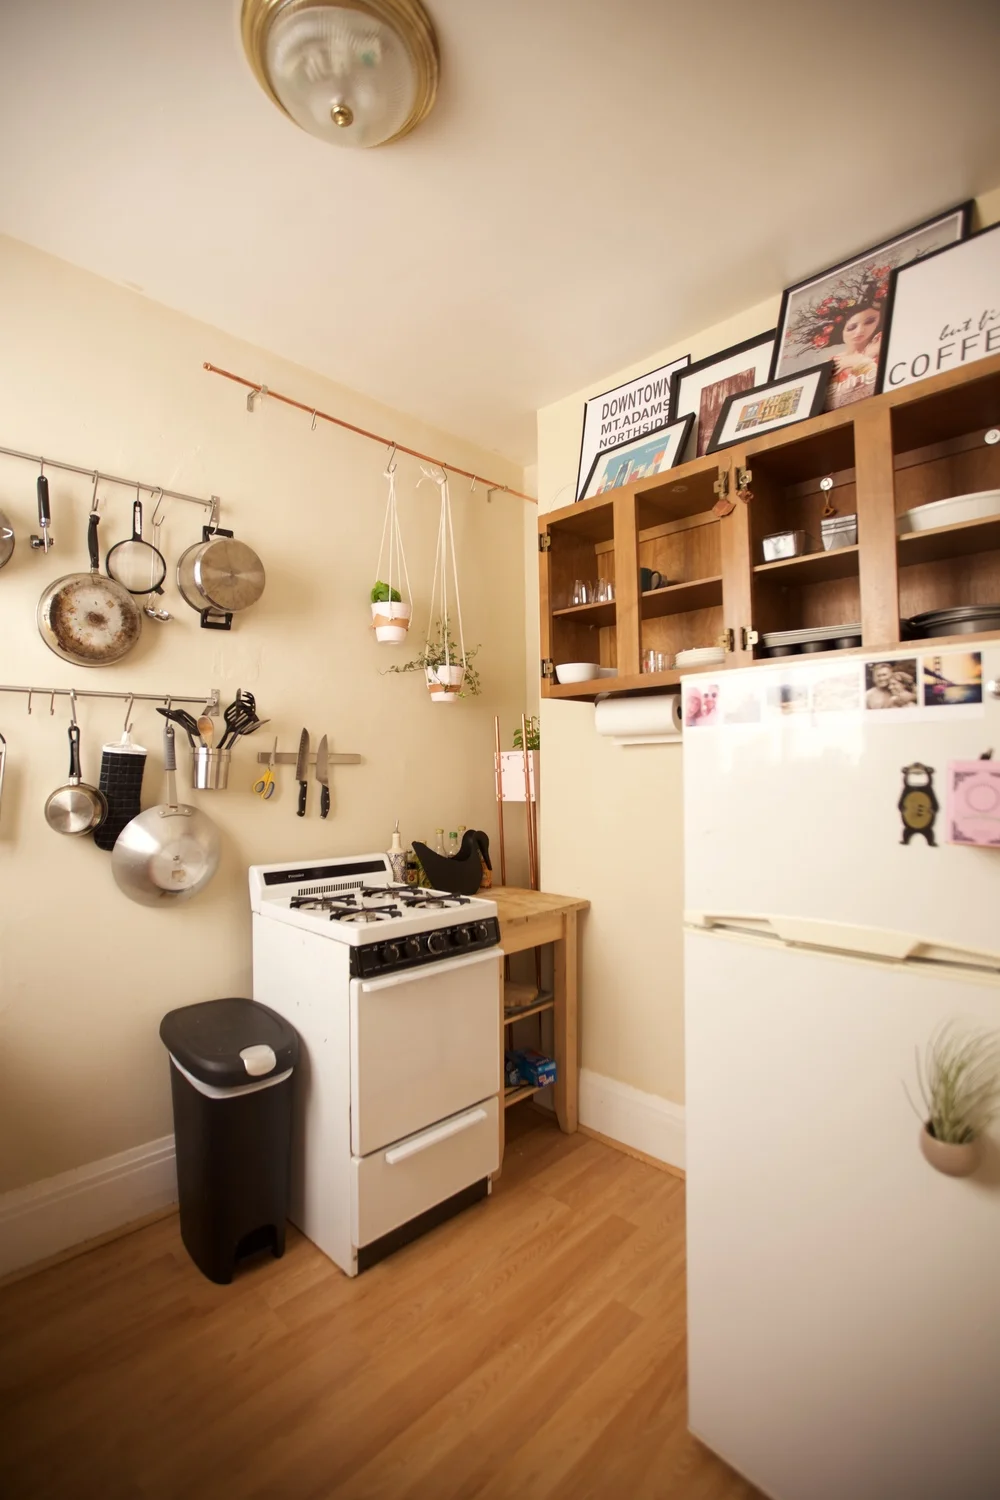
- Removing the cupboard doors. I did this RIGHT away. It's super easy, for you other renters out there. Literally just unscrew the hinges. Of course, before I move out, I'll have to screw them back on, but I absolutely think removing these doors opened the room a TON.
- HANG EVERYTHING. Literally, everything. I hung pots and pans, I hung knives, I hung the paper towels, I hung plants, I hung baking supplies, I hung my pictures (as magnets on the fridge). There is one drawer and two "food" storage cupboards in this kitchen. That's not enough room for anything. Utilizing the wall space was imperative.
- Draw the eyes up. It's true what they say, if you put something above the natural line of vision, your eye will travel up to see it. This layering of height helps the space feel much larger. I did this through the art above my cupboards and the hanging copper plant rod (a DIY I can share here, if you'd like!).
- Speaking of the plants, Greenery. I've never had plants before, but now I have three succulents in the kitchen, two herbs the wall, mint in the corner, and an air plant on the fridge. You might think I'm crazy for saying this, but I feel like they're like my little pets! It's so fun to watch them grow. The plants add some needed life into this tiny kitchen.
- You might notice I don't have a microwave.... so that's my final tip. Challenge yourself. I didn't think I could live without a microwave (ugh, pampered much?), but it actually is totally fine. I use this awesome wok that I found at a Thrift Store to make oatmeal in the morning and heat up leftovers. Those were pretty much the only reasons I ever used a microwave anyway! It feels great to save the space the microwave would have taken up.


Photos: Diana Lustig | Sources: Ikea Grundtal Kitchen Rods (pots and pans); Urban Outfitters Swan Watering Can; Bed Bath and Beyond Paper Towel Holder; Target Trash Can; Ikea Magnetic Knife Bar; Ikea Double Tiered Drying Rack; Hanging plants, Hanging Shelf and Modern Planter DIY's; Amazon Le Parfait Jars.